Step 1. Open the image of your choice. Here is the picture I will be using.

Step 2. You need to duplicate the image. I like to do it twice so I can see the original and the enhanced. You will see what I mean once we are done. So I have duplicated twice, but you really only need to do it once.
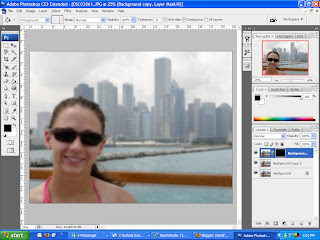
Step 3. On your bottom layer, or middle layer (if you duplicated twice) go to filter > blur > and use the blur tool of your choice. I like the simple Gaussian blur, but the lens blur would work well too. If you hide the top layer, you should see your results. You don't want your blur to be too blurred because your subject will look way out of place. I used a Gaussian blur of 8.5. Here is what mine looks like.

Step 4. Unhide the top layer. Your picture so look like the original again. Add a layer mask making sure you are on the top layer. Fill the mask with black. You now should see the blurred picture again.

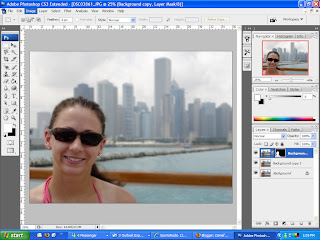
Step 5. Using the selection tool of your choice, make a selection of the part you want to be highlighted. In this case, I want my fiancee to be highlighted and I am going to leave the background blurred and highlight just her

Step 6. With your selection in place, switch your color to white. Make sure you select the mask and fill the selection with white.

Step 7. If you did your's like mine with three layers, you can group the top two layers together to see the difference. If you hide and unhide the group, you will see the original and your newly modified image.
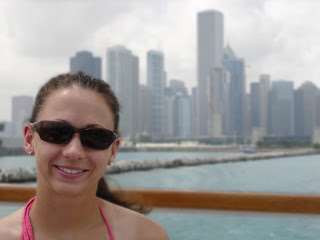
Here is my final.

1 comment:
Really a beautiful post. Keep it up.
Generic Viagra
Post a Comment